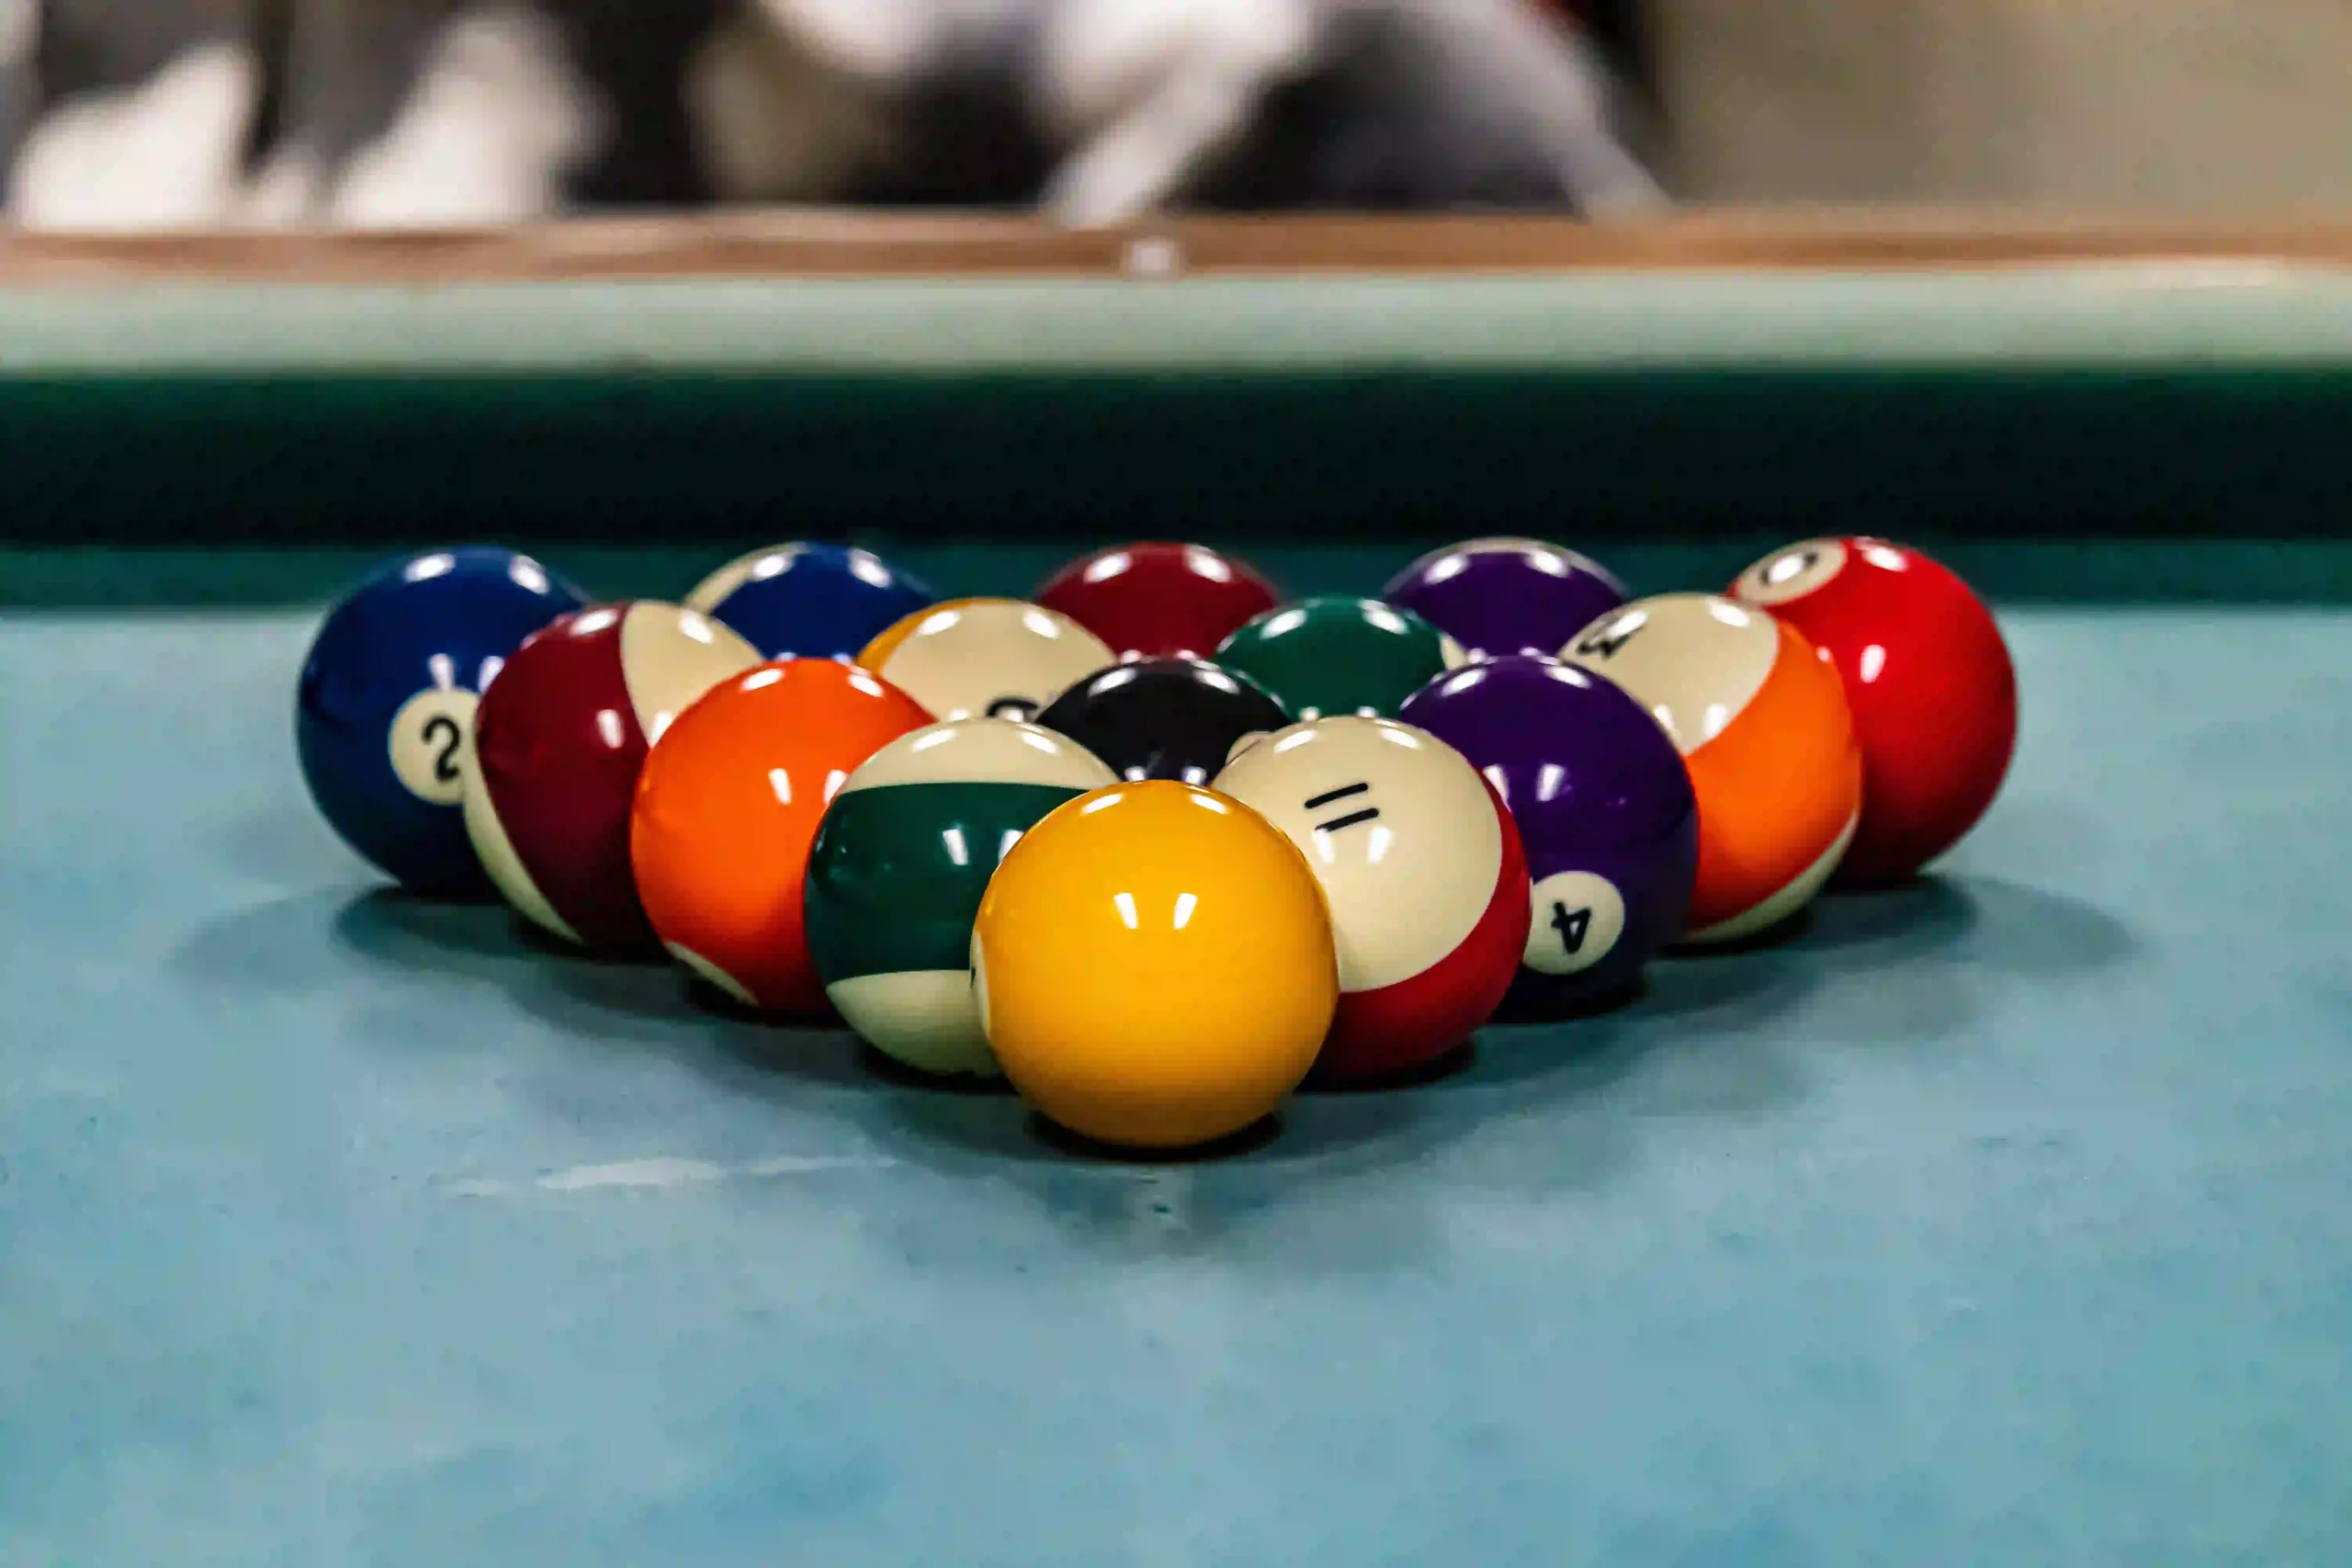
Pool tables come in different types, but slate pool tables are the most well-known. However, some people prefer MDF tables or mechanized non-slate pool tables. That is because they are more affordable and easier to move. These tables are great for casual players who want to enjoy a game of pool without the high cost of a professional-grade table.
If you need to move a pool table, knowing how to take it apart safely can save you time, effort, and potential damage. But keep in mind that mechanized pool tables with ball return systems are more complex than standard models. This means that you’ll need to be extra careful.
If you are moving to a new home, upgrading your game room, or rearranging furniture, this guide is for you. It will help you take apart your pool table easily and without stress.
Why disassemble a pool table?
Most pool tables are heavy and bulky, making them difficult to move in one piece. Taking them apart first can make the moving process smoother. Here are a few reasons why you might want to disassemble your MDF table or mechanized pool table:
- Easier transport: A pool table is easier to move when it’s broken down into smaller parts.
- Preventing damage: Keeping fragile things intact (like the smooth playing surface) ensures your table stays in good condition.
- Avoiding injury: Pool tables are heavy. Breaking them down makes lifting and carrying safer.
- Fitting through doors and hallways: Many pool tables won’t fit through narrow doorways unless they are disassembled.
Gather your tools before you begin
To take apart a pool table, you’ll need the right tools. Having these ready will make the process easier:
- Socket wrench – Used to remove bolts from the rails and legs.
- Screwdrivers – Both Phillips and flathead screwdrivers may be needed.
- Allen keys – Some tables use hex bolts.
- Moving blankets – To protect the table’s playing surface and other parts.
- Ziploc bags or containers – For storing screws and small parts.
- Labels and a marker – To keep track of where each piece goes.
- Camera or phone – Taking pictures of each step can help during reassembly.
Now, let’s walk through the disassembly process step by step.
Step 1: Remove the pockets
Start by removing the pockets from the table. Depending on the model, pockets may be attached with screws or staples. Use a screwdriver or pliers to detach them carefully. If your pool table has drop pockets (where balls simply fall into a net or cup), this step will be straightforward.
For mechanized, coin-operated pool tables, the pockets may be connected to the ball return system. If that’s the case, be extra cautious to avoid messing up the mechanism.
Step 2: Remove the rails
Next, use a socket wrench to remove the bolts holding the side rails in place. Rails are usually attached with multiple bolts, so make sure you keep all the hardware together in a labeled bag.
Once all the bolts are out, gently lift the rails off. In some cases, they may be attached to each other, making them heavier than expected. Ask a friend for help if needed.
Step 3: Remove the felt
If you’re planning to store or transport your table, you may need to remove the felt from the playing surface. The felt is either stapled or glued down.
- If stapled, use a staple remover or flathead screwdriver to carefully lift the staples.
- If glued, be extra gentle, as peeling it off too quickly can damage the material.
Try to keep the felt in good condition, as replacing it can be costly. Roll it up neatly and store it in a safe place.
Step 4: Remove the slate or MDF surface
This step is only for tables with a mechanized playing surface. If you have an MDF table, do NOT attempt to take apart the main surface. The design of the MDF and other non-slate materials does not support disassembly and can easily break.
For slate tables, you’ll need to carefully lift the slate pieces. Slate is heavy and fragile, so it’s best to have at least two people handling it.
Step 5: Detach the legs
Once the rails and felt are removed, you can now unscrew and remove the legs. Use your socket wrench to take out the bolts holding the legs to the frame. Some tables offer detachable legs for easy transport, while others may require a bit more effort.
After detaching the legs, wrap them in moving blankets to protect them from scratches during transport.
Step 6: Secure small parts and wrap components
Now that your pool table is fully disassembled, take some extra time to:
- Store screws, bolts, and small parts in labeled bags. This will make reassembly much easier.
- Wrap fragile components like the rails and legs in moving blankets for added protection.
- Keep the playing surface flat and supported to avoid warping.
Things to keep in mind when moving the table
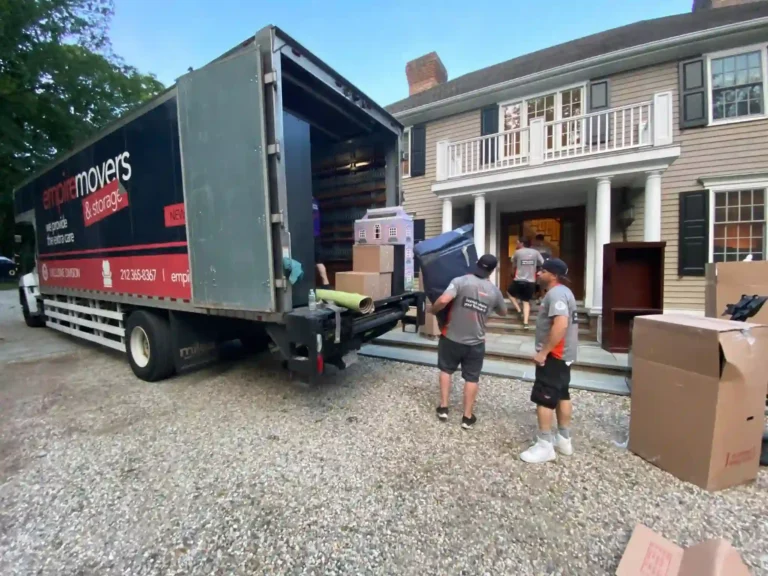
Now that your table is taken apart, it’s time to move it! Whether you’re hiring movers NYC or handling it yourself, keep these tips in mind:
- Use a professional moving service
If you’re in New York City, finding a trusted moving company in NYC can save you time and effort. They will have the right equipment to handle the job properly.
- Protect the components
Make sure every part of your table is wrapped and cushioned to prevent damage.
- Transport carefully
Pool table components are heavy and delicate. Load them securely in a truck or van to prevent shifting during transit.
- Consider a packing service
Some moving services offer packing service options, which can help ensure your pool table is moved safely.
Give yourself ample time for the disassembly process. Rushing can lead to mistakes or missing components. Find out more information on moving in NYC in our blog.
Reassembling the table
Once the table is moved to its new location, it’s time to put it back together. Follow these steps in reverse order:
- Reattach the legs and tighten the bolts securely.
- Place the playing surface back on the frame.
- Carefully stretch and staple the felt back into place.
- Reattach the rails and pockets.
- Double-check all bolts and connections before playing.
If available, consult the manufacturer’s guidelines for disassembly and reassembly. These instructions can bring valuable insights into your pool table’s design.
Racking It Up
Moving a mechanized or MDF pool table must be stress-free. By following these steps, you can have a smooth and safe moving experience while protecting your pool table.
To make the process even easier, consider hiring professional moving services that specialize in pool tables. Empire Movers & Storage NYC knows how to handle fragile items and how to make sure your table gets to its new home safely.
If you play pool for fun or seriously, taking the time to carefully take apart and move your table is important. It will keep the pool’s surface nice and flat for a long time.
So, take your time, be careful, and enjoy your next game in your new space!
Contact Empire Movers & Storage – NYC today!
Our Locations:
- Manhattan: 641 Lexington Ave, 14th Floor, New York, NY 10018, United States
- Long Island City: 3030 Hunters Point Ave, Long Island City, NY 11101, United States
Reach Us:
- Phone: +1 212-365-8367
- Email: office@goempiremovers.com

Luisa Pop
In my role, I blend my love for writing with my digital marketing skills to create content that really speaks to our readers. I keep myself updated on the latest industry trends to ensure my contributions are relevant and helpful, especially in the moving and storage sector.