There’s a good chance that you have a favorite coffee mug, tea mug, or maybe multiple cups. Why wouldn’t you, too? Basically, your mug is one of the first things you see when you wake up in the morning, therefore it’s where your day begins. Pack coffee mugs with caution. Despite their appearance, porcelain mugs are fragile and prone to breakage.
In order to ensure that your mugs arrive at their designated location—the kitchen of the new place—unbroken when the time comes for you to move out, you’ll need to take extra care.
Step 1. Organize your mugs
Making sure you’re only bringing the cups you adore and intend to use in the new house is the very first step in packing mugs for transferring.
Avoid packing and moving “dead weight”—pack coffee mugs that you will move just to tuck away in a kitchen cabinet and never use again. Consider this: transporting home things to a new address that you don’t intend to use is a waste of money.
- Gather all of your porcelain cups and set them out on the kitchen table.
- Carefully go over each mug for indications of wear such as stains, cracks, chips, etc.
- Choose immediately whether to take or leave each cup. When making your decision, keep in mind the cost of transportation and the available storage space in the new location.
- Think about giving away the mugs you don’t use to friends or relatives.
- Discard the porcelain goods that will never be used again for recycling.
- Only leave the porcelain cups you intend to bring.
Step 2. Acquire the required packing materials
The next step is to prepare the packing items you’ll need to pack your mugs for a move because it’s difficult to safeguard them without utilizing the right packing materials.
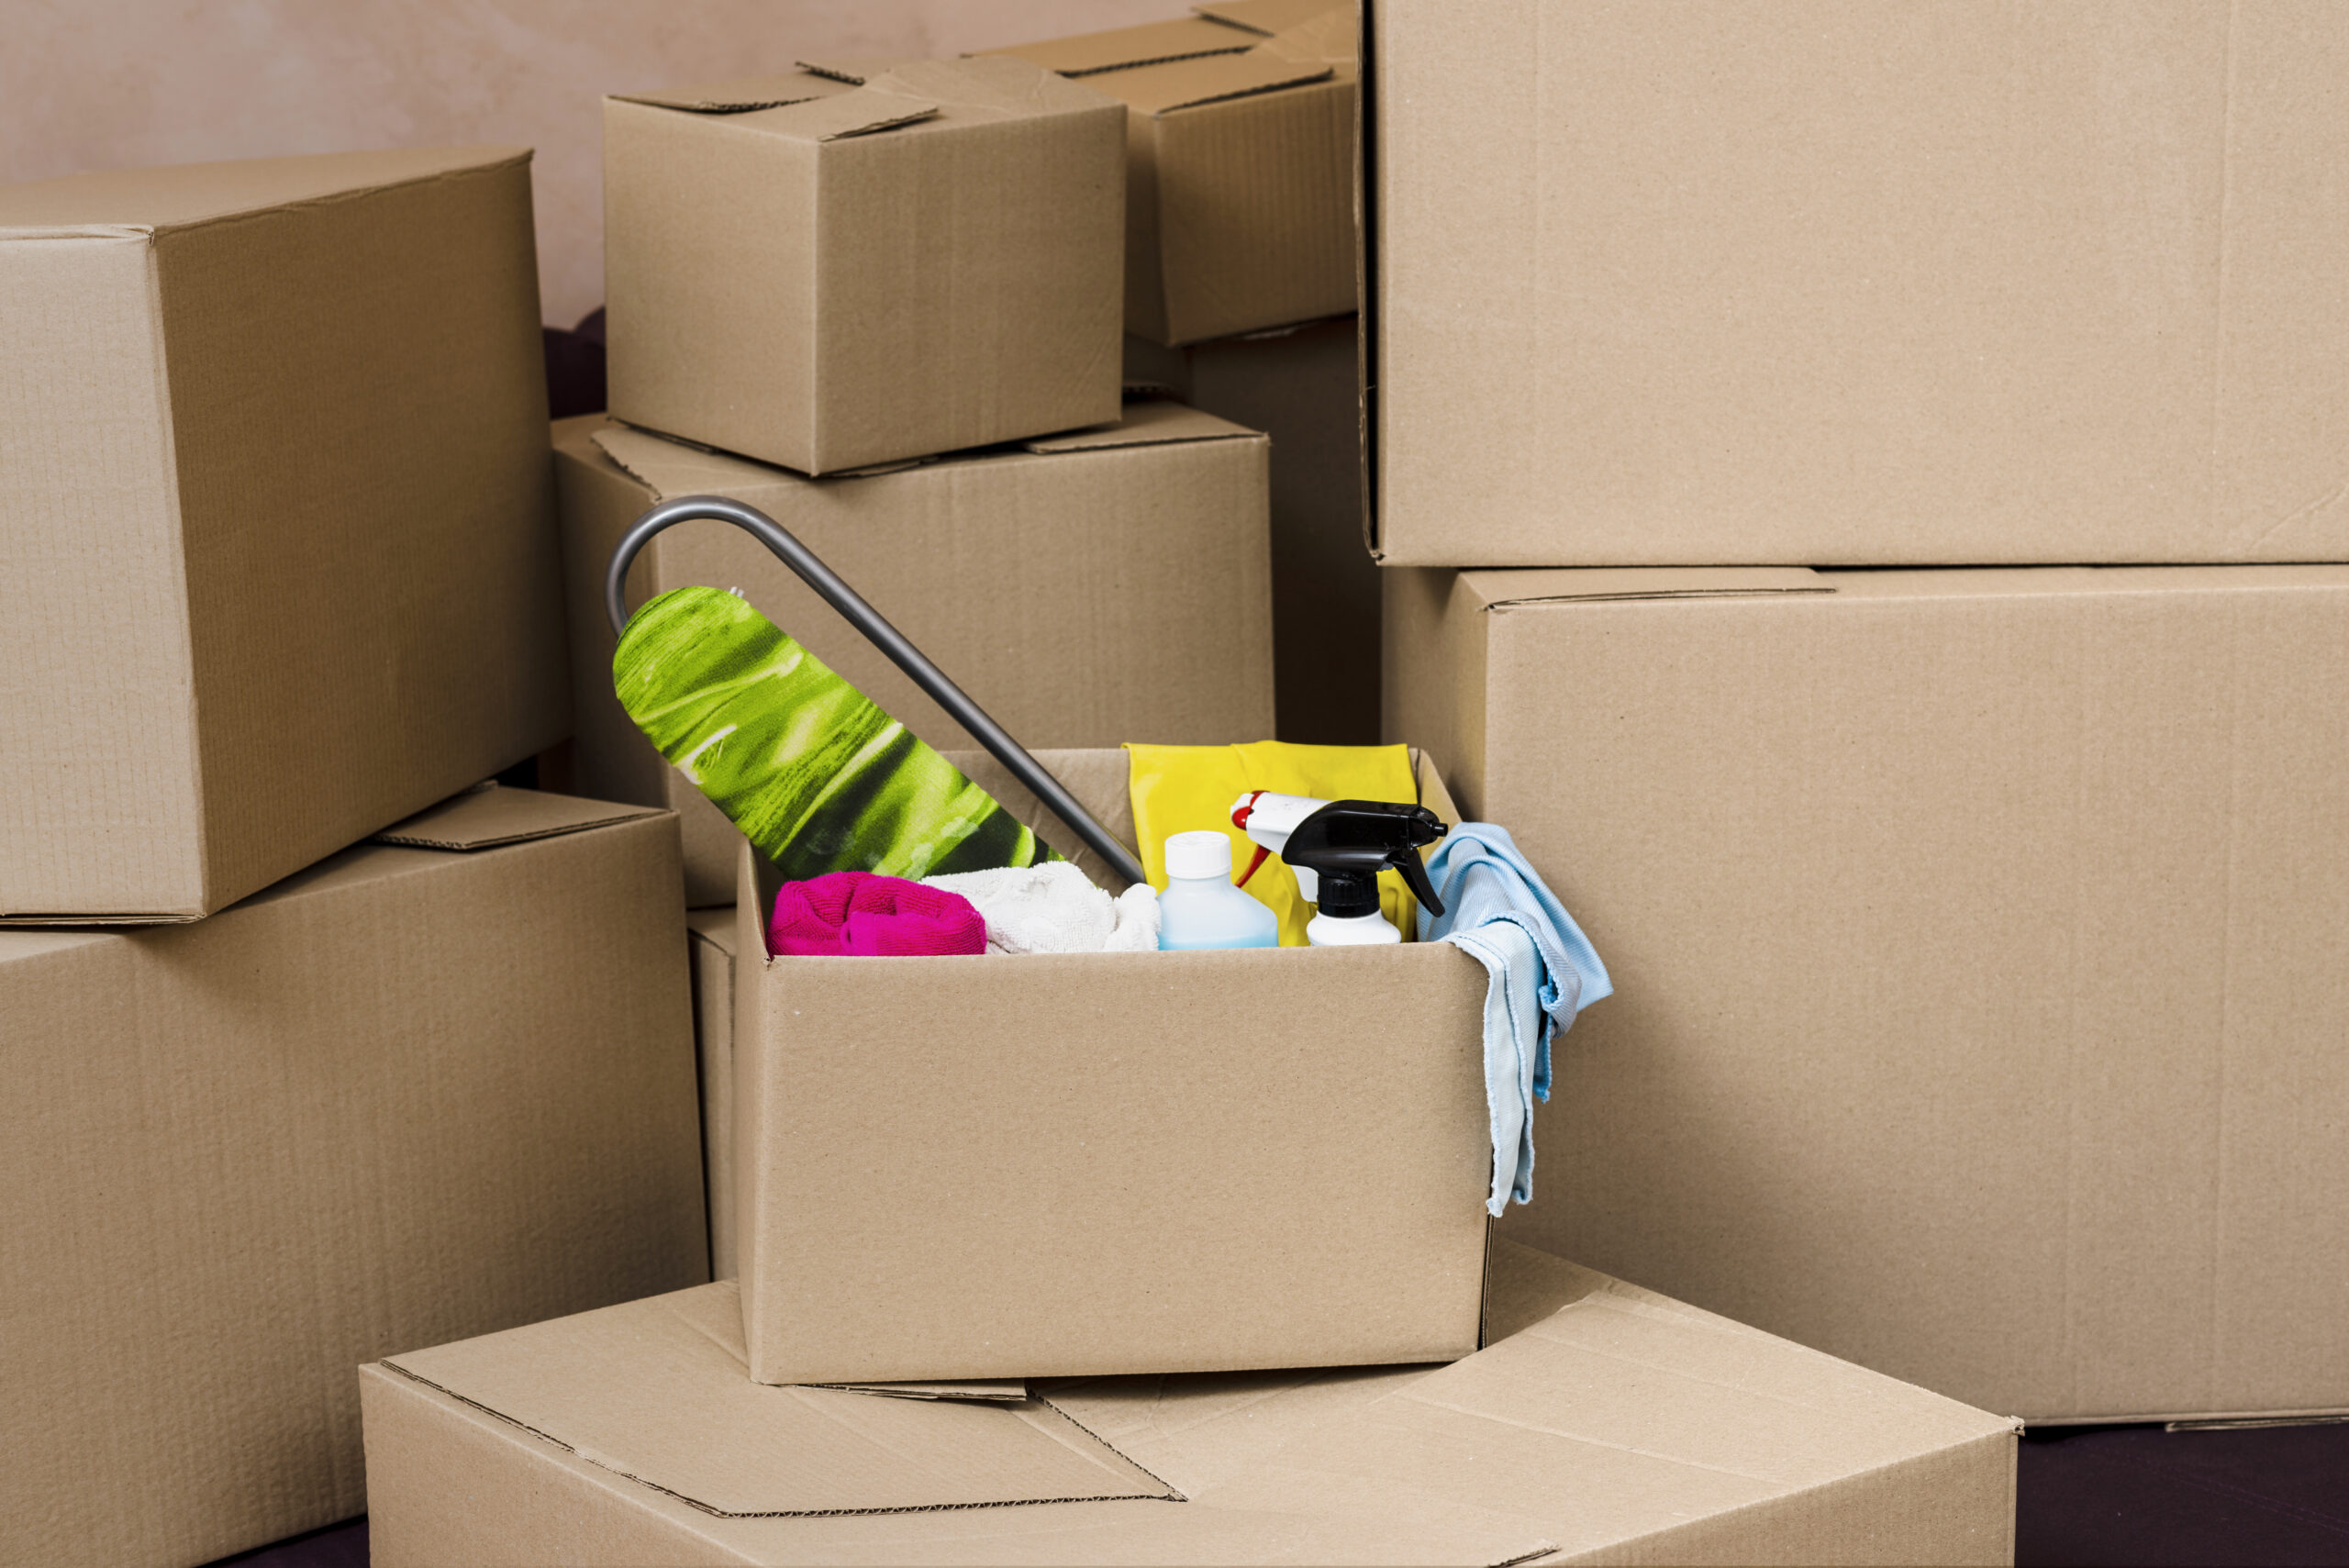
- Cardboard boxes: If you can, get dish packs (also known as dish barrels), which are specialized heavy-duty cartons, ready. These boxes will provide superior overall protection for your breakables because they are composed of thicker cardboard. If not, using typical medium moving boxes should be acceptable as long as you adhere to the following packing instructions.
- Wrapping paper: Here, you have two choices: Use either soft white packing paper, which is advised, or tougher brown Kraft paper, which is also acceptable. Just be sure to purchase extra packing paper than you anticipate using because it is the primary material used to box mugs for transport.
- Bubble wrap: The mugs you do love—the ones you’d hate to see accidently broken during unpacking—are best protected with bubble wrap.
- Newspapers (optional): Newspapers can be used to fill up any gaps inside the boxes if necessary. Why? The cost of newsprint is essentially zero.
- Packing tape: You can use a standard roll of packing tape.
- Markers: Prepare a red and a black marker so you can label the boxes once you’ve finished packing them.
Step 3. Get the moving boxes ready

The cardboard boxes must then be prepared so that your breakable kitchen goods can be placed inside of them. Get ready to move smart! Prepare your cardboard boxes to safely pack your fragile kitchen items with our expert movers NYC .
- Even if the cardboard box is brand-new, double-tape the bottom and the sides before using it to ship your porcelain cups. This is a precaution that will make it impossible for the box to collapse under the weight of its own contents. In the end, it is preferable to be safe than sorry.
- Each moving box’s bottom should be lined with crumpled packing paper or, even better, with the essentially free newsprint. To maximize the cushioning effect, compress the paper sheets into balls for optimal effects. Any shocks and vibrations during shipment will be absorbed by the developed padding layer at the bottom.
Step 4. Wrap each mug individually
The easiest approach to pack coffee mugs for a move is without a doubt to wrap each delicate item separately in multiple sheets of packing paper. Never, under any circumstances, should you let any of the cups touch one another.
The kitchen table is a common packing station, so place the stack of packing paper there.
Like you would put a cup on a table, place a mug in the exact middle of the stack of papers. Check to see if the cup is dry; if not, use a towel to properly dry it.
- Packing method #1: Pick up two to three sheets of paper by the corner, then tuck them inside the empty mug. Repeat Step 2 with the remaining 3 corners until the cup is completely filled with paper and the sides are securely wrapped and guarded.
- Packing method #2: Take a piece of wrapping paper, ball it up, and place it inside the mug. Roll the cup slowly along the stack while holding it sideways and wrapping it in paper. Avoid applying too much force to the handle.
To keep the paper bundle tight and secure and to prevent it from opening up on its own during transit, wrap it in a small piece of packing tape.
To ensure their safety during transit, wrap the most prized coffee or tea mugs you own in a bubble wrap outer layer.
Step 5. Put the box with the wrapped mugs inside.
Ensuring pack coffee mugs at your new home hinges on carefully placing them in a box – a vital step, along with process 4 (above).
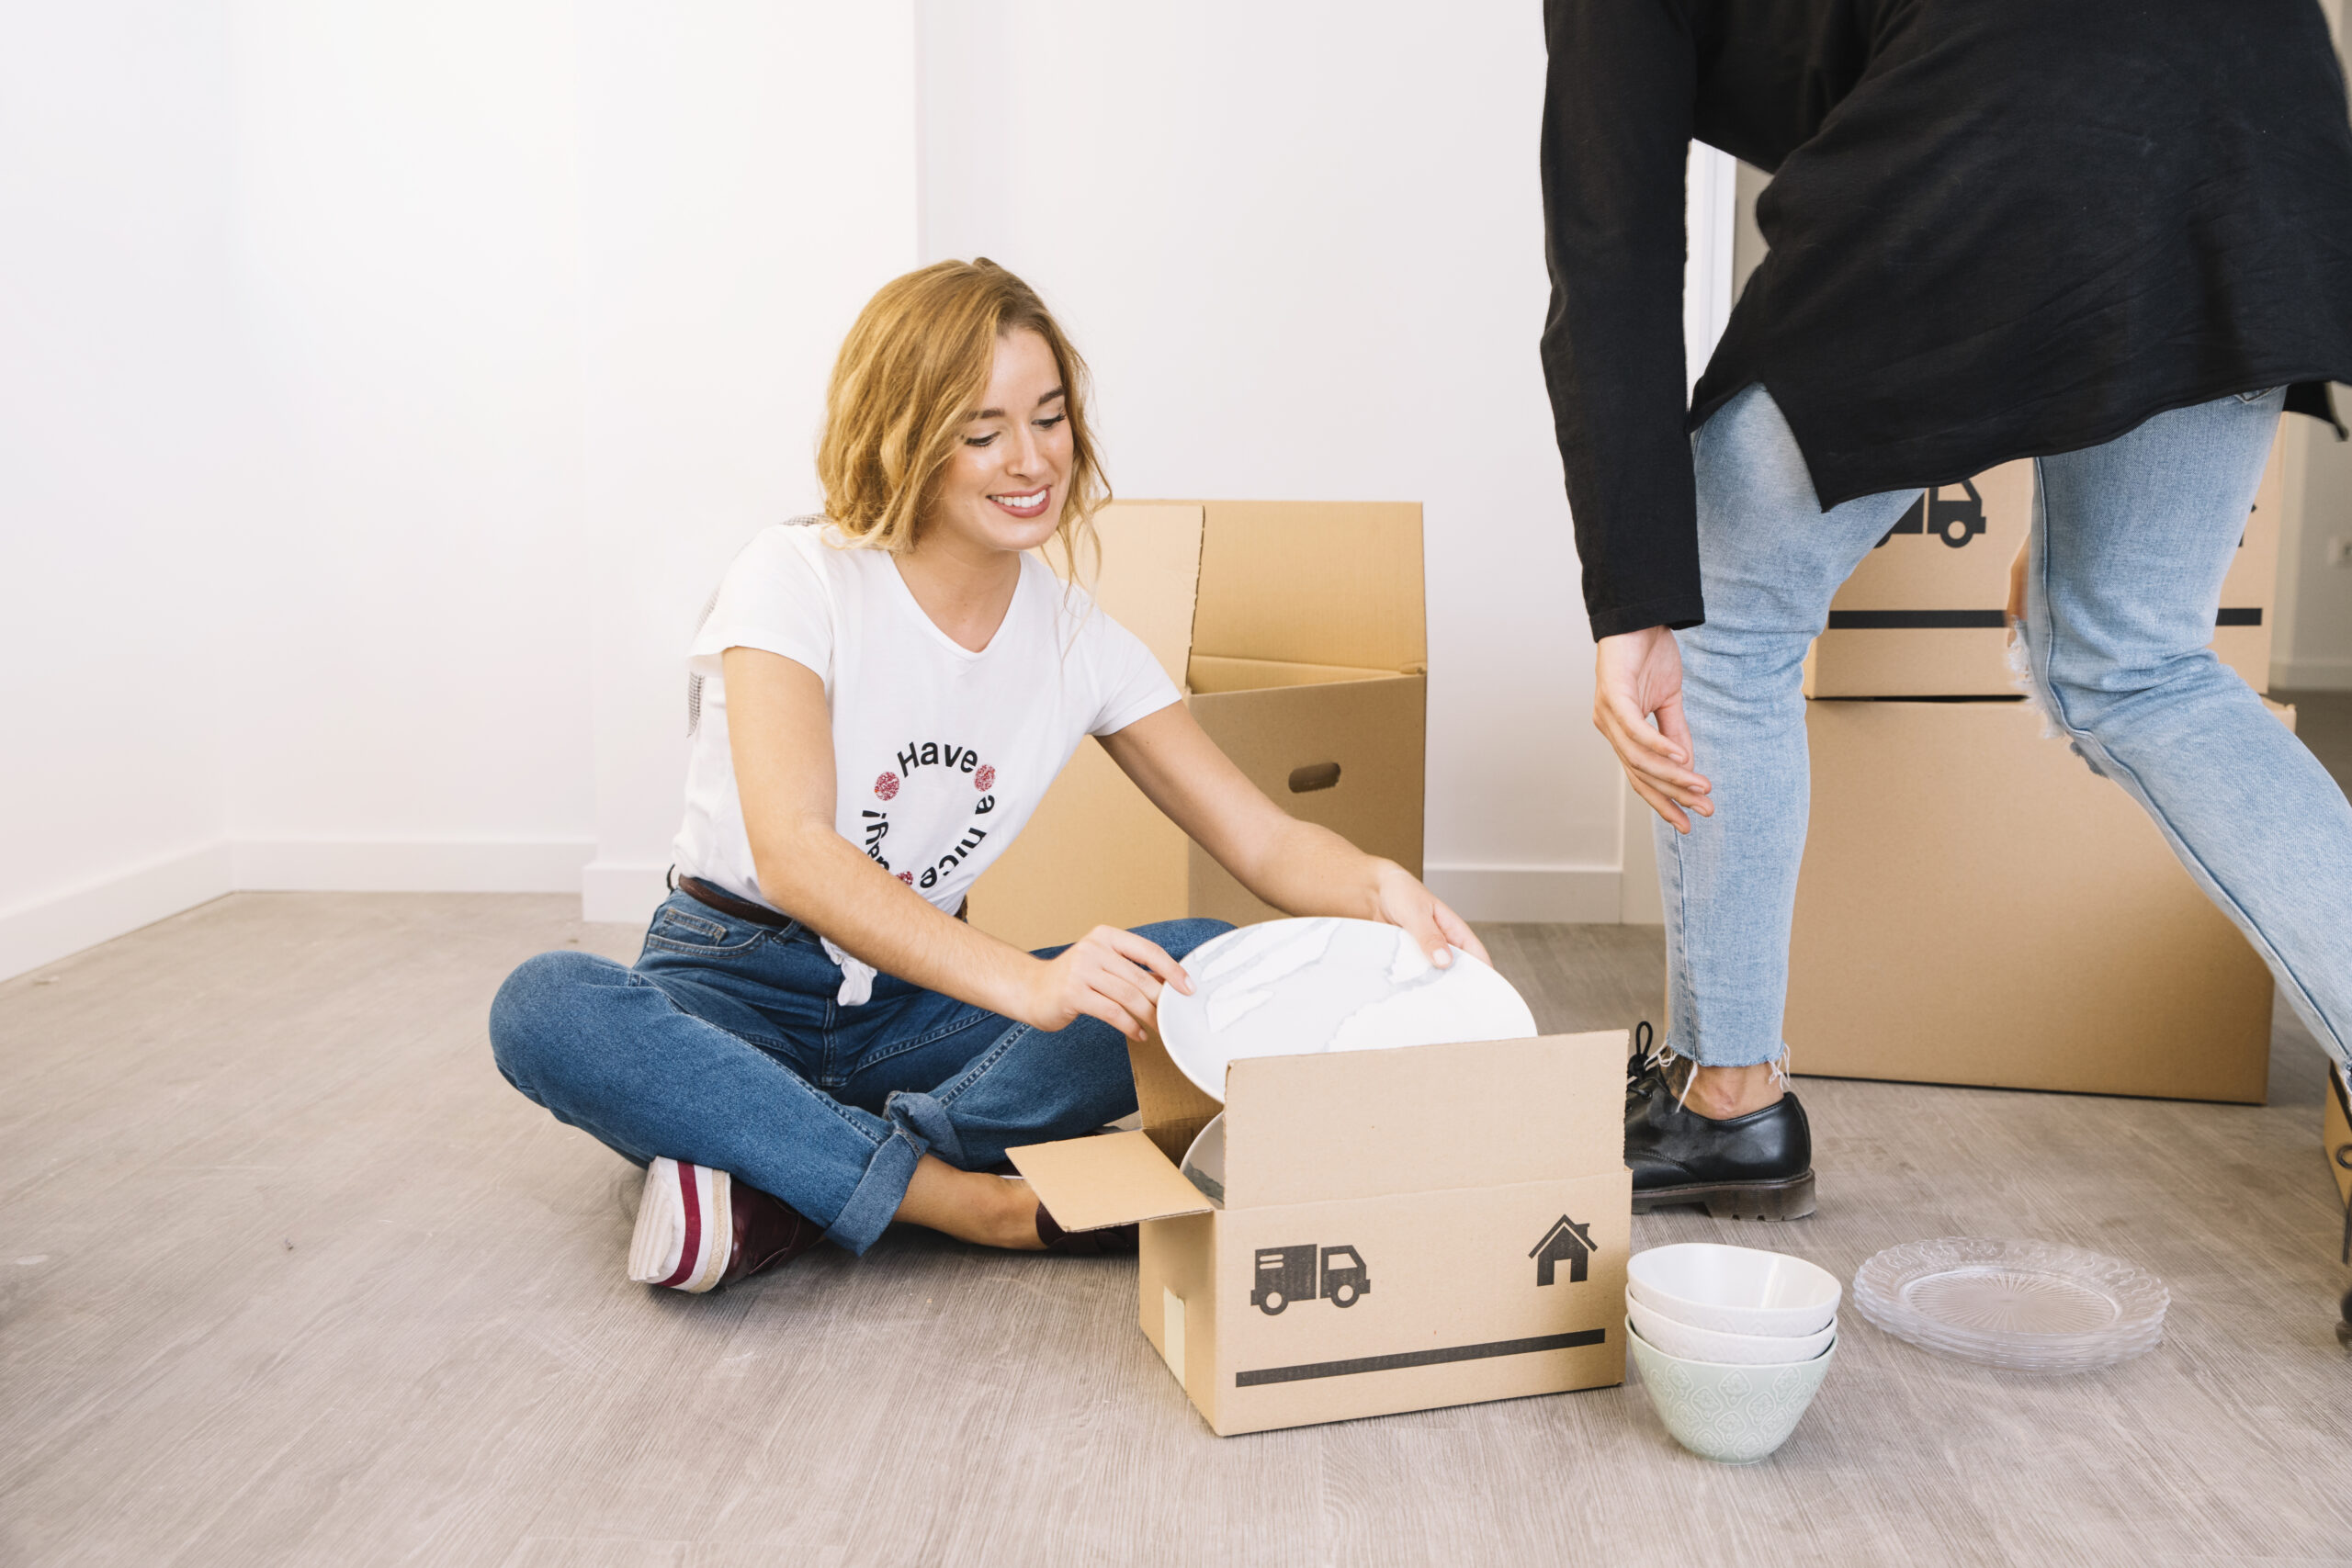
- As soon as you’re done wrapping a packed mug in paper, put it in a cardboard box.
- Over the bottom layer of crumpled wrapping paper, gently place the cups and position them snuggly one on top of the other.
- When you’ve finished the first row, cover the paper bundles (mugs) with a piece of bubble wrap, and if there is room in the box, begin assembling a second row.
- When placing the mugs in a box, exercise caution to avoid applying too much pressure. Packing mugs for a move shouldn’t include forcing your way inside to fit yet another porcelain cup.
Step 6. Affix the mugs to the box securely.
Despite paper wrapping and pre-padding, moving fragile mugs might result in breakage during transit, leading to smashed items upon arrival.
When packing mugs for a move, you should do the following to add the finishing touches:
- Fill in any gaps you observe inside the moving box with crumpled newspaper. To fill in the empty spaces inside the box, use wrapping paper, bubble wrap, or perhaps both.
- Strive to achieve complete visual immobility for the paper-wrapped porcelain cups within the moving container. Use the shake-up test if you’re dubious of the outcomes.
- Raise the cardboard box into the air and give it a light shake to see whether anything inside is moving, even slightly. If so, cover everything in extra crumpled paper to prevent any movement. If the answer is no, you did a good job and it is now time to close the box.
Step 7. Label the box

Prepare to proceed to the final stage: packing the cups.
- Cover the top row of tightly packed mugs with one last layer of bubble wrap.
- Tape the box shut after sealing the lids.
- On two sides of the box, write MUGS and KITCHEN using the black marker.
- Add handling instructions like “FRAGILE,” “HANDLE WITH CARE,” and “THIS WAY UP” with the red marker.
When done properly, packing cups for a move might take a long time. Hire experienced packers who have a lot of experience moving and packing breakable kitchen items if you’re in a rush or don’t feel like you can do the packing operation on your own.
How to Pack Numerous Mugs?
You can load multiple mugs inside a moving box, provided you individually bubble-wrap them and avoid packing them too tightly. A moving box shouldn’t contain more than 10 cups; doing so will make it difficult to carry.
Without a Box, How Would you Pack Coffee Mugs?
Fold the bottom end of the packing paper around the cup’s circumference, securing it around the mug’s mouth with the other end. Trim it with a pair of scissors if one or both ends are too long to fold or stuff. If the cup is particularly pricey or delicate, double tuck it and wrap it in packing paper.
Moving in NYC? Our top-tier movers ensure extra care. Wrap cups flawlessly, secure fragile items—trust us for a smooth, worry-free move!


